.jpg?width=6772&height=4583&ext=.jpg)
1. Understanding the Basics of Stain Storage
Wood stains are a mixture of pigments, solvents, and binders. Proper storage ensures these components remain stable and effective. Exposure to extreme temperatures, air, and contaminants can compromise the stain’s composition, leading to separation, thickening, or drying out.
Why Winter Storage Requires Extra Care
During winter, low temperatures and fluctuating conditions pose unique challenges for storing stains. Many stains contain chemicals that may freeze if the temperature drops too low, affecting their usability. Additionally, frequent freezing and thawing can degrade the stain’s consistency. This makes it vital to know how to store stain correctly.

2. Selecting the Right Storage Location
Temperature-Controlled Environment
The most critical factor in storing stain is maintaining a consistent temperature. Olympic Stains recommends keeping stains in a location where the temperature remains between 50°F and 90°F (10°C to 32°C).
-
Ideal Spots: Heated garages, basements, or utility rooms.
-
Avoid: Unheated sheds, garages exposed to freezing temperatures, or outdoor areas.
Avoid Direct Sunlight
Even in winter, exposure to direct sunlight can cause temperature fluctuations and accelerate the breakdown of the stain’s components. Choose a shaded area away from windows or any heat sources that can cause uneven heating.

3. Properly Sealing Stain Containers
Air exposure is one of the main culprits behind stain degradation. When air enters the container, it can cause the stain to dry out or thicken, making it challenging to apply later.
Steps to Seal Stain Containers Properly
-
Clean the Lid and Rim: Before sealing, wipe the lid and rim to remove any residue that could prevent a tight seal.
-
Use Plastic Wrap: Place a piece of plastic wrap over the opening before replacing the lid to create an extra barrier against air.
-
Check for Damage: Inspect the container for dents or cracks that could allow air to enter.

4. Labeling and Organizing Stain Containers
Labeling Tips
-
Include Key Information: Write down the purchase date and the type of stain. If the original label is damaged, replace it with a clear, legible one.
-
Note the Condition: Add a note on whether the stain has been partially used, as this can affect its shelf life.
Organization
-
Store Upright: Always store stain containers upright to prevent leaks.
-
Group by Type: Keep similar products together to avoid confusion when retrieving them.

5. Preventing Freezing and Thawing Issues
Why Freezing is a Problem
When stains freeze, the pigments and binders can separate, leading to uneven consistency. Once separated, even thorough mixing may not restore the stain’s original quality. This is a key concern for those learning how to store stain during winter.
How to Avoid Freezing
-
Insulate the Storage Area: Use insulation materials to keep the temperature consistent.
-
Use Heat Sources: Small space heaters or heat lamps can help regulate the temperature in storage areas. Ensure these devices are used safely and do not overheat the area.

6. Inspecting Stains Before Use
Before using a stain stored over winter, inspect it for signs of damage or degradation.
Signs of Damage
-
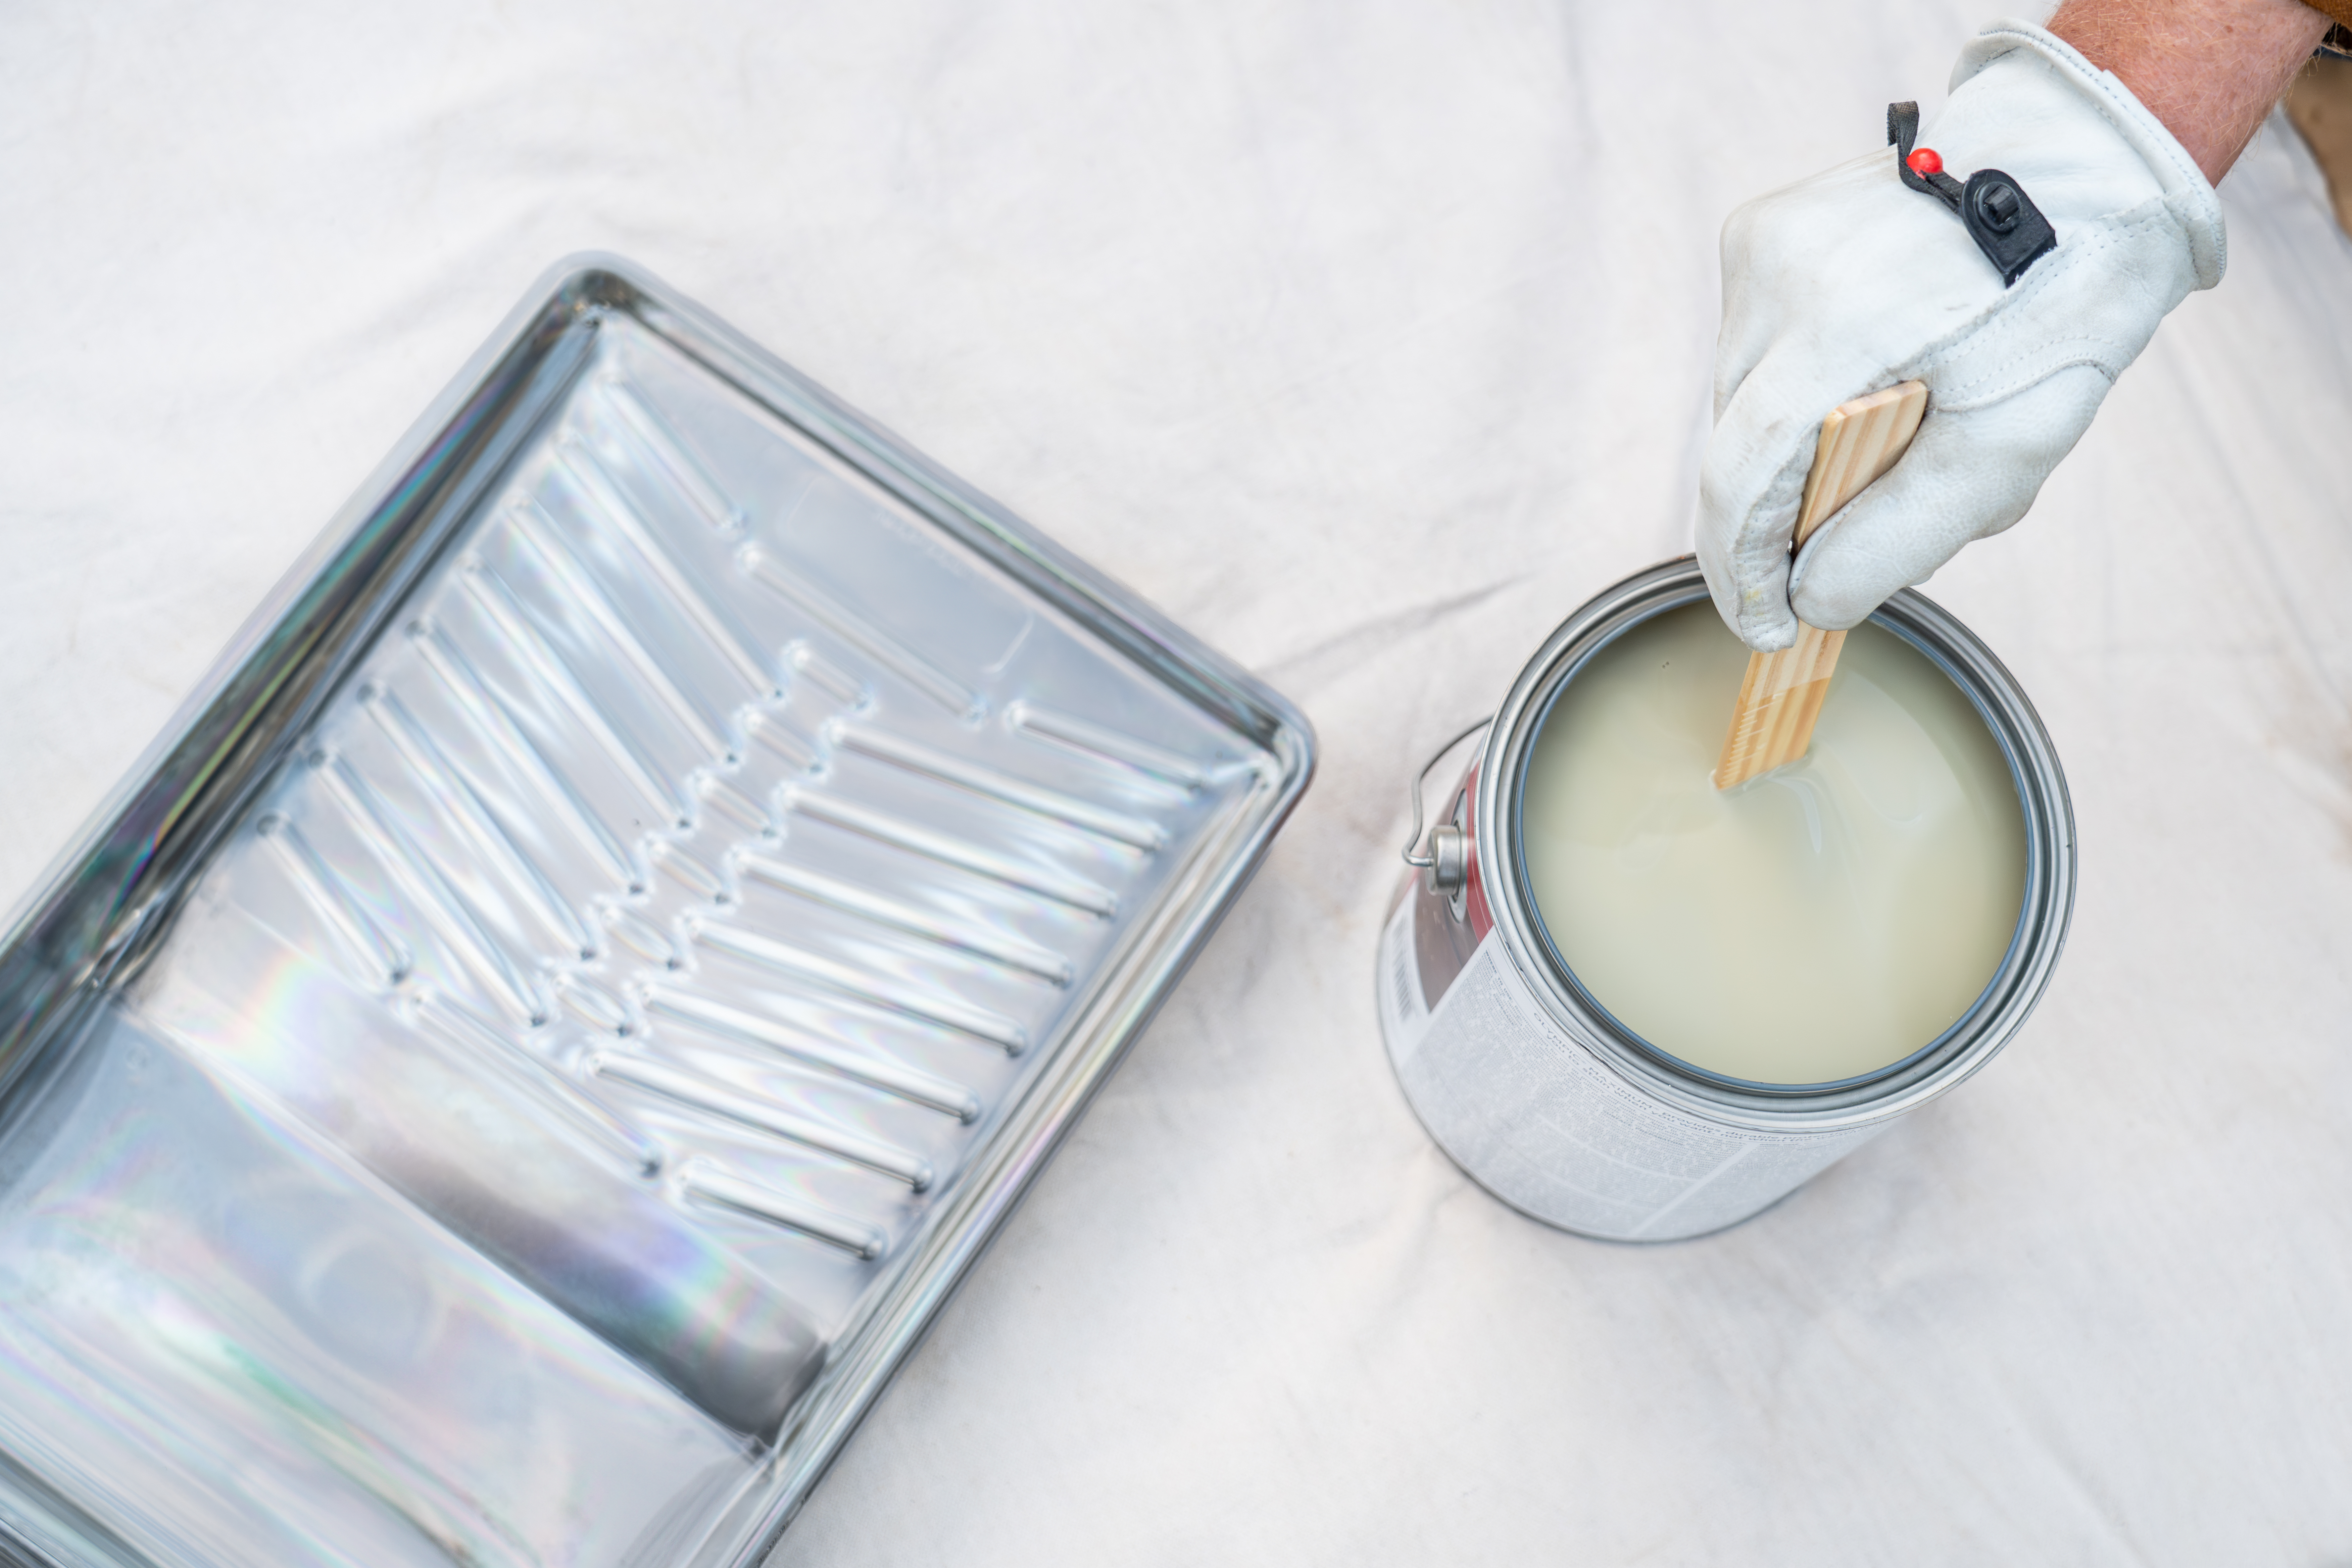
Separation: A small amount of separation is normal and can be remedied by stirring. However, extensive separation might indicate the stain is no longer usable.
-
Unusual Smell: A sour or rancid odor could mean the stain has gone bad.
-
Thickening or Clumping: This may indicate that the stain has been exposed to air or extreme temperatures.
Testing the Stain
-
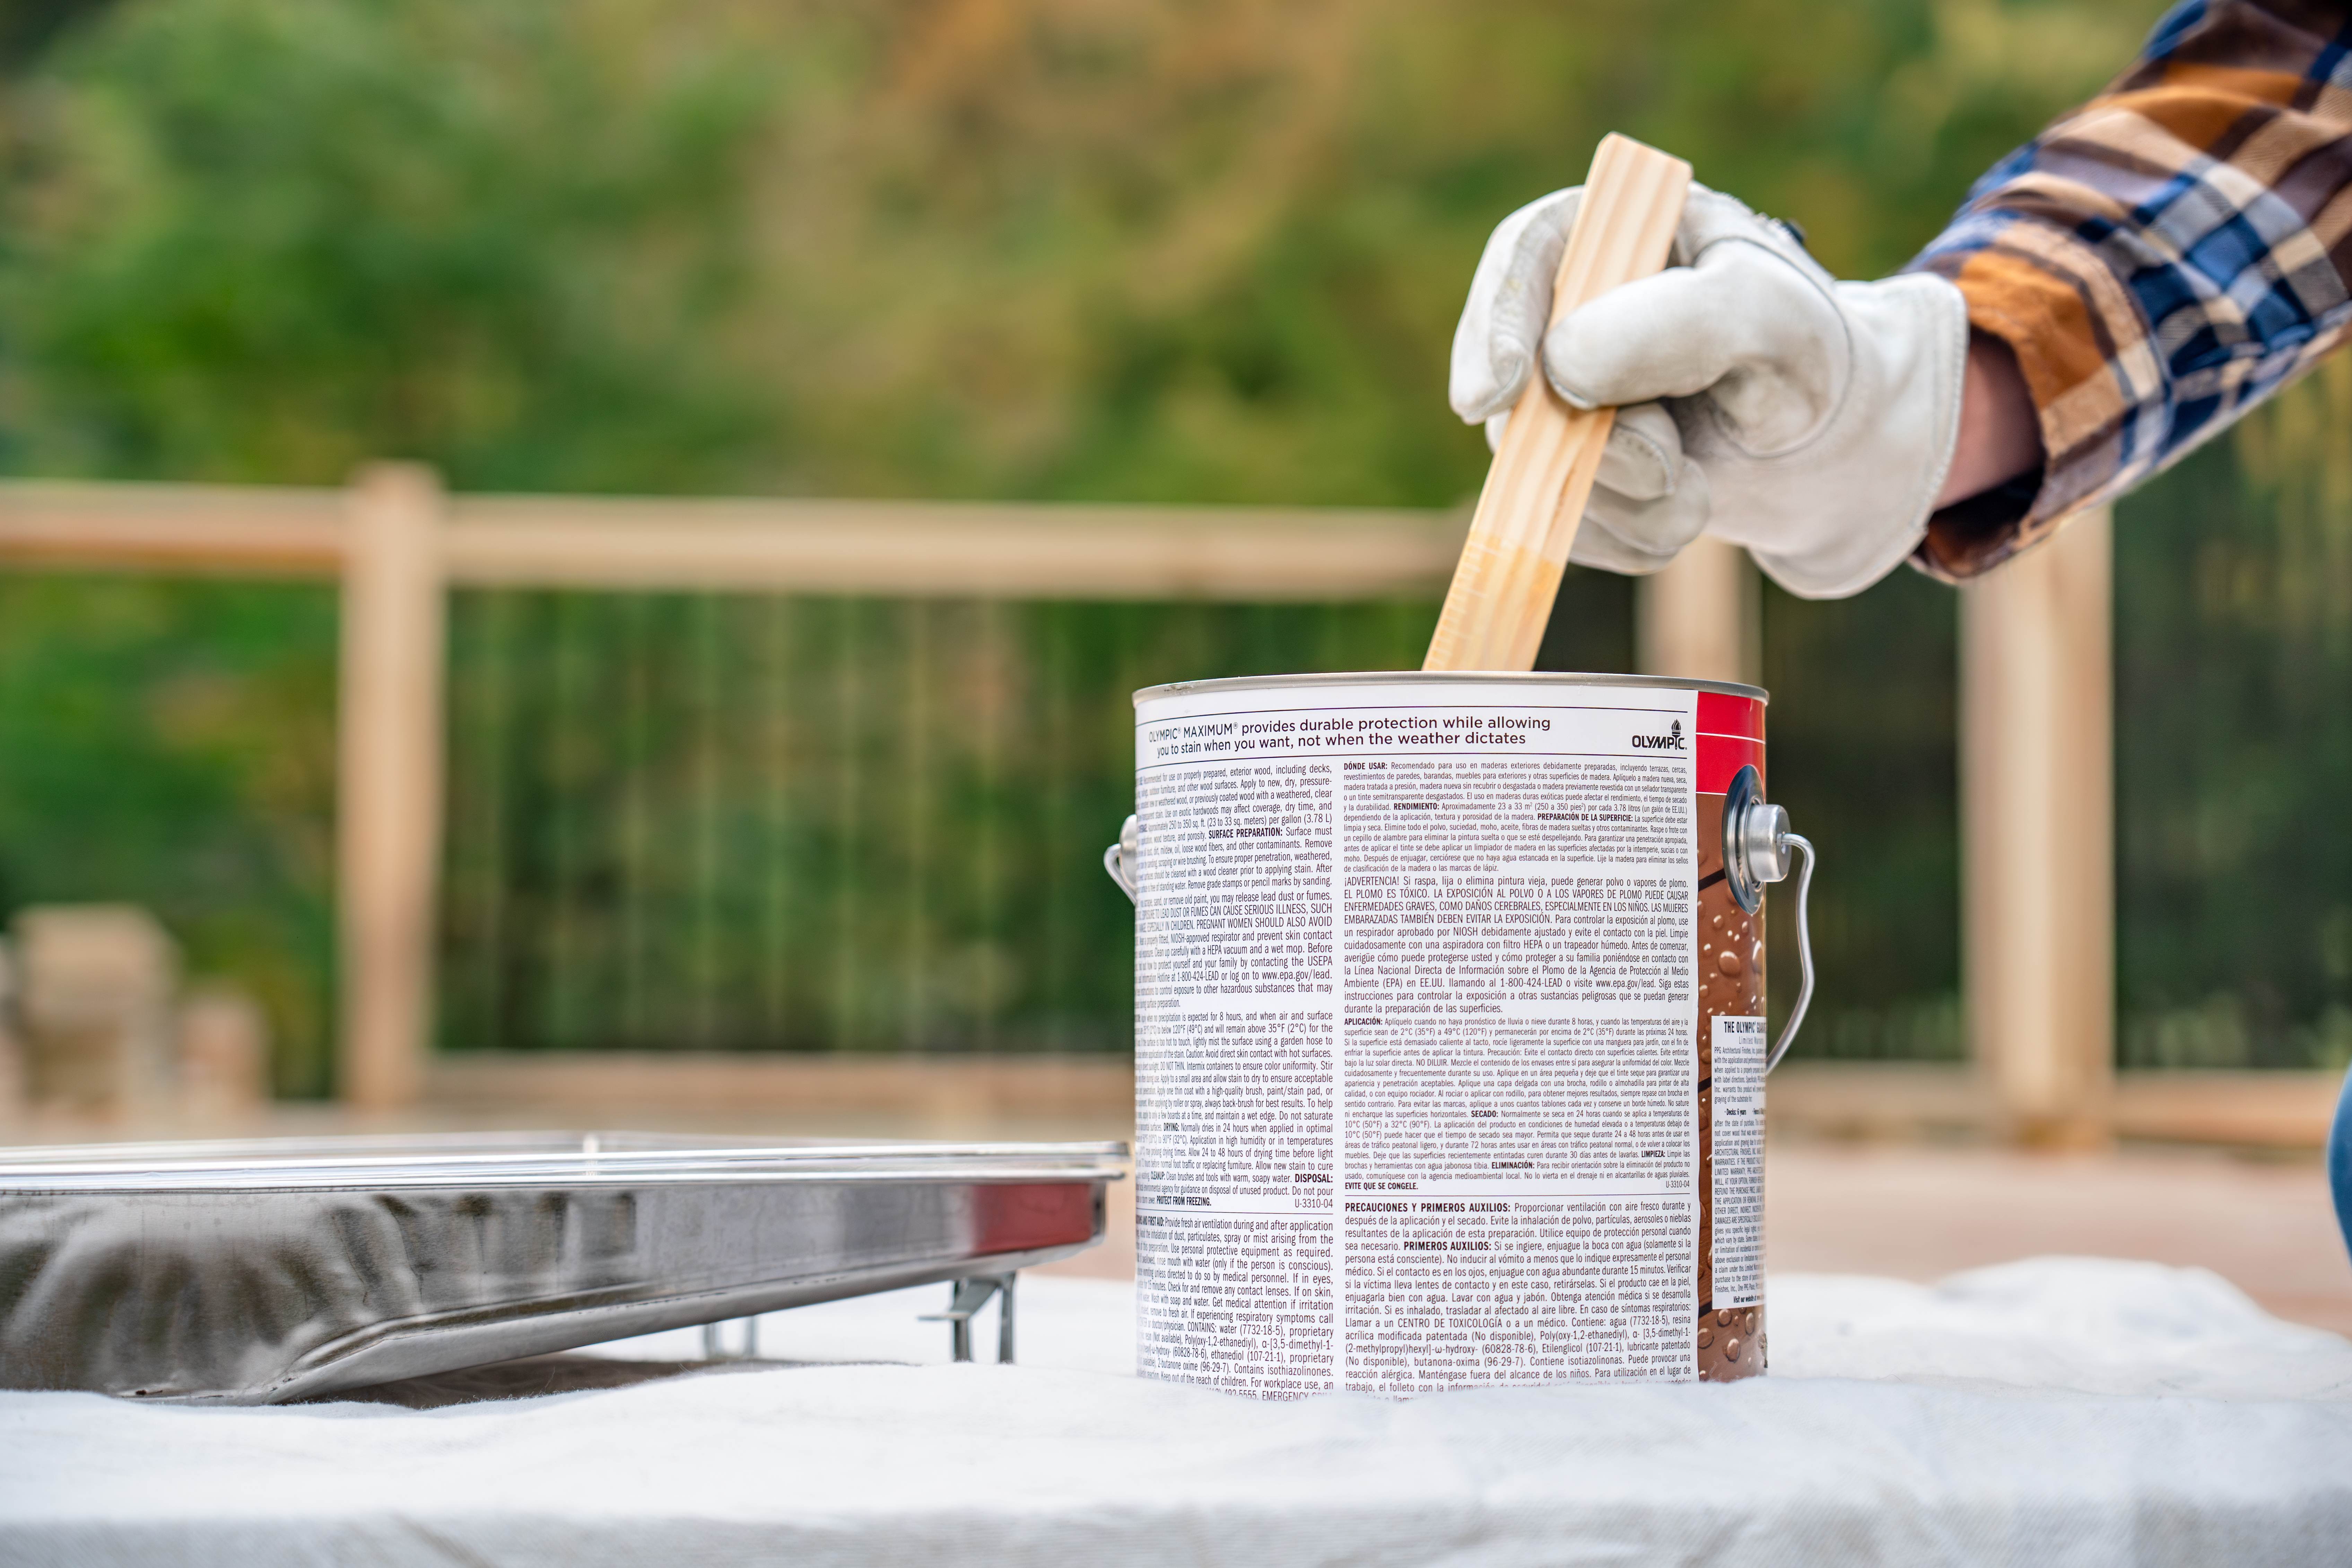
Mix thoroughly and apply a small amount to a test surface to ensure it spreads evenly and dries properly.


