Q: How do you stain cedar wood?
A: Need some wood staining advice? Cedar wood makes for a beautiful deck surface, but it won’t stay that way if it isn’t protected. Rot, premature aging, and warping can occur from the weather and elements when the boards aren’t sealed. Finishing off your newly-installed cedar deck with a sealant or wood stain will help to prolong the life, beauty, and appeal of the deck for years to come. Here are four simple steps to stain a cedar wood deck.
Buy Deck Stain Online

Step One
Sanding Cedar Wood
If your cedar deck is newly installed, you’ll need to sand* the cedar boards prior to staining. The boards go through a planing process at the mill that result in “mill glazing”. The planing process causes an oily surface on the boards that can hinder the wood stain from penetrating the wood.
For an existing deck, you may need to sand* to remove loose wood fibers.
Find the Right Deck Stain
Buy Deck Stain Online
*WARNING! If you scrape, sand, or remove old paint, you may release lead dust or fumes. LEAD IS TOXIC. EXPOSURE TO LEAD DUST OR FUMES CAN CAUSE SERIOUS ILLNESS, SUCH AS BRAIN DAMAGE, ESPECIALLY IN CHILDREN. PREGNANT WOMEN SHOULD ALSO AVOID EXPOSURE. Wear a properly fitted NIOSH-approved respirator and prevent skin contact to control lead exposure. Clean up carefully with a HEPA vacuum and a wet mop. Before you start, find out how to protect yourself and your family by contacting USEPA National Lead Information Hotline at 1-800-424-LEAD or log on to www.epa.gov/lead. Follow these instructions to control exposure to other hazardous substances that may be released during surface preparation.

Step Two
Cleaning Cedar Wood
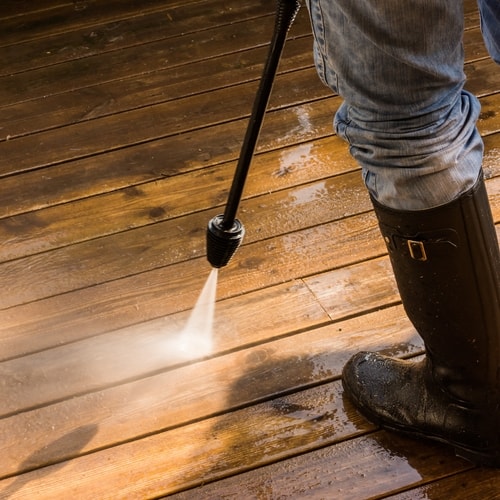
You’ll also need to wash an existing deck before staining it. This will remove dirt, mildew and impurities that have built up from the elements over the years.
You can use a hose and a deck brush, or power washer, with Olympic Premium Deck Cleaner.
For wood that was previously stained, dark cedar wood and redwood, we recommend using Olympic Premium Deck Brightener & Wash with a hose and deck brush. It provides a gentle cleaning for these more sensitive surfaces.
The deck surface needs to be thoroughly dry before moving forward with staining.
See All Exterior Stain Colors
Buy Deck Stain Online

Step Three
Picking The Right Day
The most important thing to do before you stain is to pick the right day. Generally, wood stain needs to be applied on a sunny day, as opposed to a cloudy and muggy day. Take a look at the weather forecast and plan your staining day accordingly.
If you want more flexibility in choosing a day to stain, consider Olympic® MAXIMUM® Stain & Sealant in One wood stains, featuring Weather-Ready™ Application.
Learn More About Olympic MAXIMUM
Buy Deck Stain Online
Olympic Staining Tip
Always test a small, hidden area, using the same number of coats you will be using on the deck and let it dry so that you can be sure to get the wood stain color you want.
Step Four
Staining Cedar Wood
You're now ready to begin the final step, the staining:
-
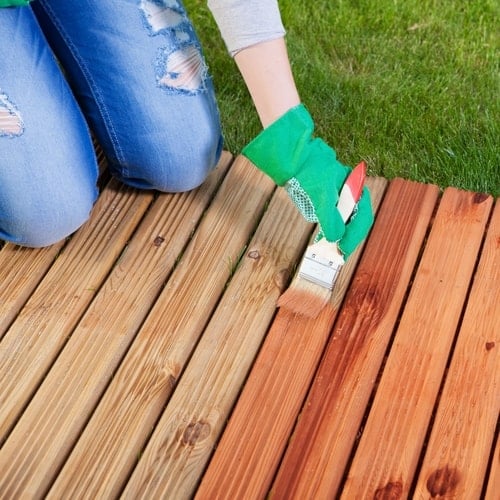
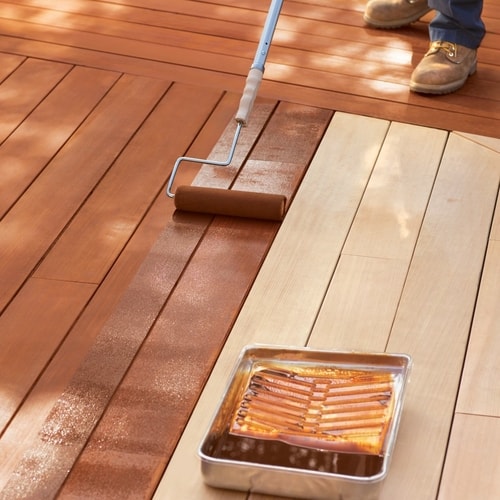
When applying the deck stain, you’ll want to use either a paintbrush or a paint roller.
-
Remember to apply the wood stain with the grain, instead of against the grain.
-
Lastly, you’ll want to take your paintbrush and fill in any corners, joints, seams, and edges with stain.
-
A paint roller can miss some of these areas, so you’ll need to go back over these areas with a paintbrush to make sure they are fully coated and sealed.
Get Stain Color Inspiration for Your Project
Buy Deck Stain Online
Please refer to the Product Label, Technical Data Sheet (TDS) or Safety Data Sheet (SDS) for safety and detailed application instructions.


