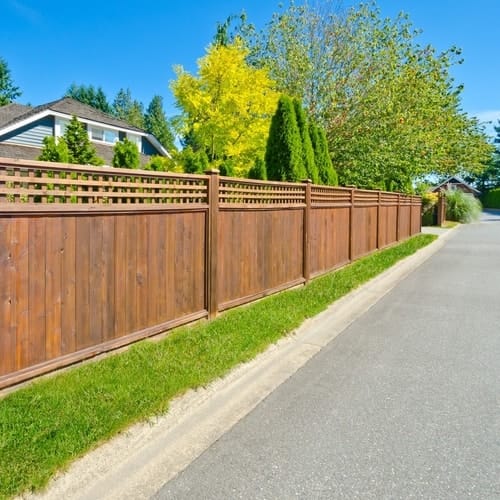
Q:How To Stain A Fence
A: Staining a fence is a lot easier than you may think. If you follow the steps below, you will quickly and easily learn how to stain a wood fence and then enjoy the benefits it brings to your property. Not only will the fence look beautiful after the project is finished, but by following these stress-free fence staining tips you are likely to enjoy spending time outdoors working on it.
Fence Stain Guide: Step 1
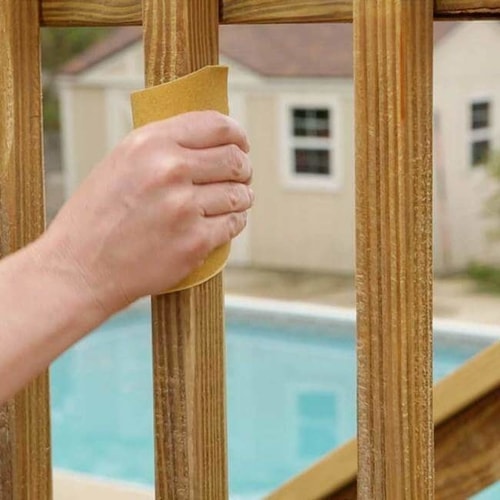
Closely Examine the Wood
This first step is very easy in the fence staining project. Closely examining the wood involves looking for things like broken fence pieces, screws, nails, or staples. These things need to be removed or fixed in order to end up with a smooth surface where you can apply the wood stain. When you are working on an old wooden fence, your project can be seriously slowed down if you have to remove nails along the way. Sand down areas that may appear too rough or you believe could cause issues with application. Take the time right at the beginning of the project to fully inspect the wood and deal with any broken pieces right away. This is likely only to take a couple of minutes.
Fence Stain Guide: Step 2
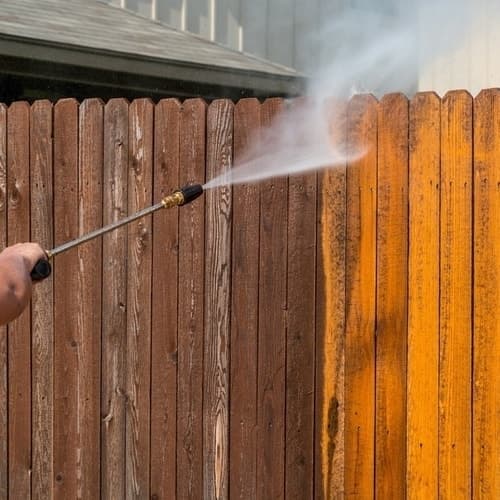
Clean the Wood
Cleaning up the wood of your fence is very simple. Use a wood cleaner like Olympic® Premium Deck Cleaner on your fence prior to staining. It is important to apply the wood cleaner in an even and uniform way. Additionally, make sure that you follow all safety precautions in order to protect yourself when using the wood cleaner. After applying the cleaning agent, use a soft bristle brush or mop to scrub away all the debris and grime.You will need to allow the wood fence to dry before moving on to the next step. The following video is specifically about how to clean and prep a wooden deck, however it is also very relevant to how you can clean a fence for staining.
Fence Stain Guide: Step 3
Staining the Wood Fence
Finally! Now that the wood is prepped and dry, you can get to the most important part, learning how to stain a fence. This process is very simple. You are going to apply the stain using a brush, roller, or a hand-pumped fence stain sprayer like the Olympic® Premium Deck Care Sprayer. No matter the method you use, make sure to apply an even coat of wood stain to the fence. Cover the entire surface. If you see areas that are blotchy or where the stain puddles, quickly use a brush or roller to smooth these areas out.
.jpg)
Fence Stain Guide: Step 4
Allow the Stained Wood Fence to Rest
Allowing stain to rest is an essential step in staining a fence. The resting period should usually last for at least 24 hours but may extend to 48 hours, depending on the humidity and weather in your area.
Fence Stain Guide: Step 5
Maintain Your Stained Fence
Now has come the time to enjoy your beautifully stained fence. You can kick back and relax. However, you will want to maintain the look of your newly-stained fence.At least once a year, you'll need to clean the fence and provide any maintenance that is necessary. Use Olympic Premium Deck Cleaner to easily remove dirt and mildew stains so that your fence looks great for years to come.
.jpg)
Locate a retailer near you
An Olympic stains retailer is nearby
See where you can buy your favorite wood stains at a location close to you.
Find a nearby Olympic stains retailer